After doing my layout with this photo technique, I thought I would do a tutorial on one of the butterfly photos from
my layout yesterday... for some this may not be new... but for others, it may be something you've wanted to do but didn't know how... I think it will surprise you how simple this really is to do with your photos.
I will be using Photoshop... on a mac. But most of these simple principles will apply to whatever photo-editing application you may be using...
1. Once your photo is open, make a duplicate of this layer.
2. Rename it to whatever you'd like... I named mine is Black&White copy.
3. Go to Image, then Adjustments, then to Black & White to make this layer Black &White.
4. A window will come up for you to adjust your photo... lighter or darker in black&white... most times I leave this on the default settings... if I do adjust anything it is the reds and magenta... to make the photo lighter or darker... play around with this for making your photo darker of lighter.
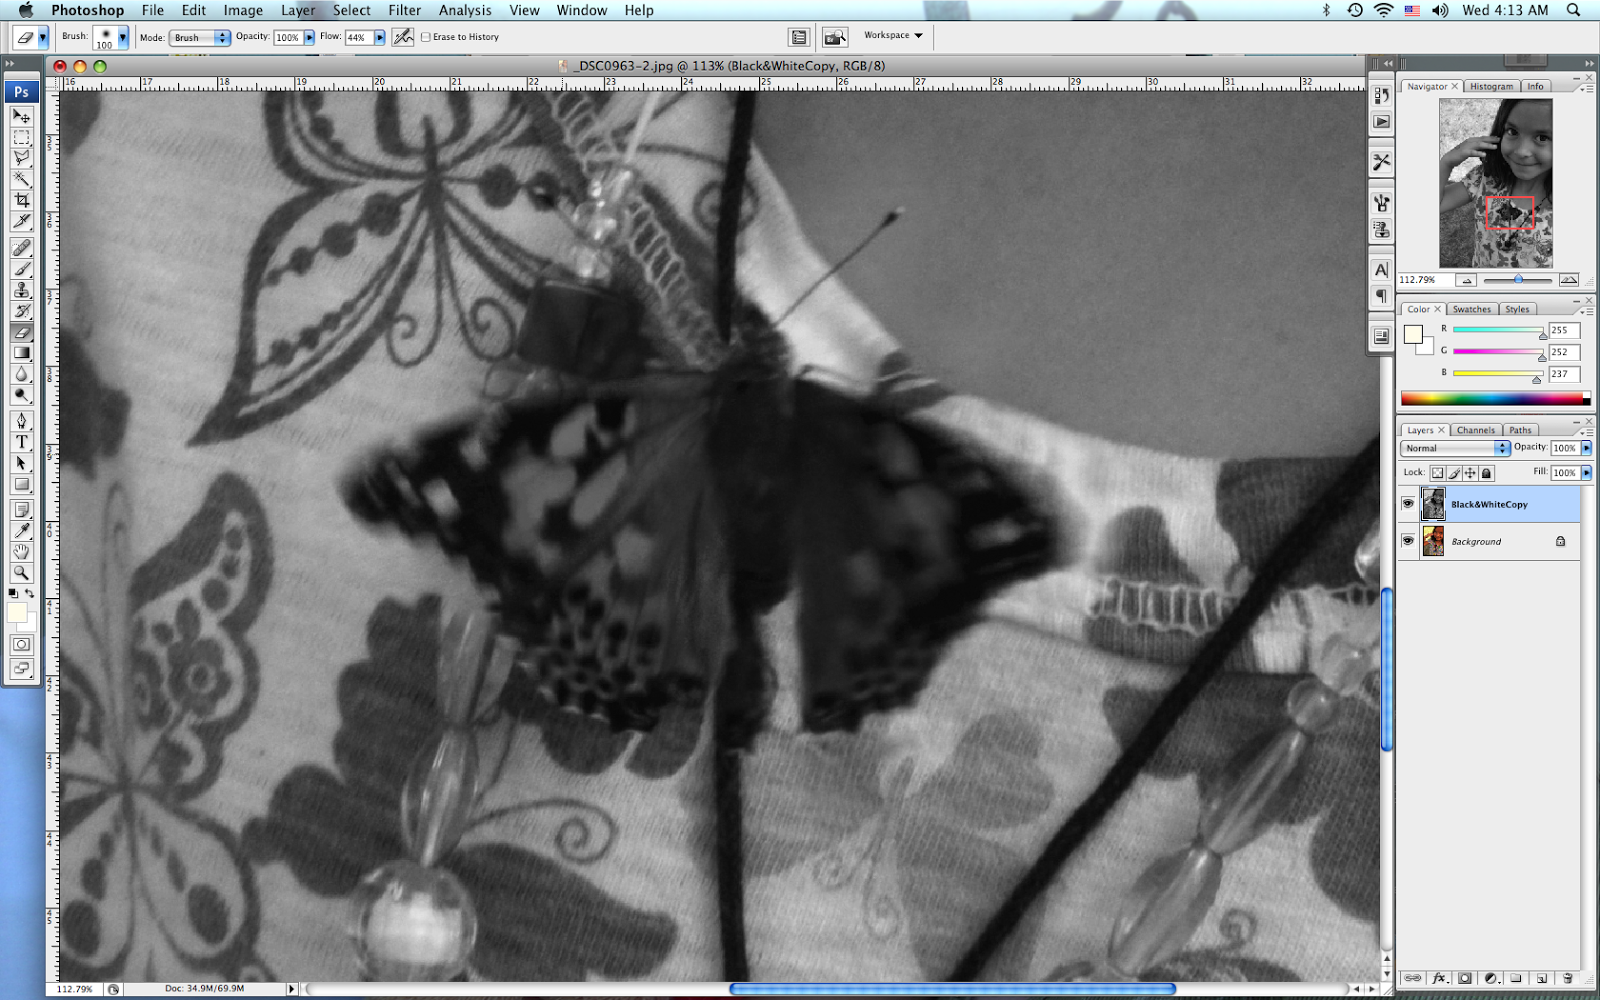
5. Enlarge the area you want to have the color on.
6. On your Black&White layer... choose your Eraser Tool. Now adjust your Eraser Tool to size.
For large area choose a large eraser... for small area... choose a small eraser.
I always like to erase large parts first with a large eraser... then adjust the eraser for the detailed areas.
Now erase your image on the Black&White Copy layer.
7. After you've erased the large parts of your image... now adjust your Eraser Tool to a smaller size for the more detailed areas... the edge of the image or like mine the legs and antennas...
now erase the small areas.
8. And you're done!!! Easy right?
9. Now... SAVE this file as a layer document (.psd), just in case you want to go back and make more adjustments. I save mine as the file name + a number, but you can save it as anything you want.
10. Save your file again as a .jpg, this will flatten the layers for you and saving the .psd file.
NOW this saved .jpg file is what you will print....
I hope this has helped you... and you will try using it on some of your photos. To see how I used this photo on my scrapbook layout, please come by my blog at
EverydayScrapbook.blogspot.com