
Here's how it is done:
I’ve been really excited to share this photo album I made for my daughter who recently gave birth to the most beautiful little baby girl ~ Quinn (a/k/a Quinney poo)!
It’s not a normal album either ~ each page has a mini hidden slide-out photo page. As soon as I saw it, I knew it would be perfect for an album keepsake for the whole family. (Please keep in mind, I’m a card girl (My Cardz) and this is my FIRST attempt at scrapbooking! Although, I do think I have discovered a NEW hobby!!)
Here’s how the “hidden” photo is revealed . . . (it slides out!)
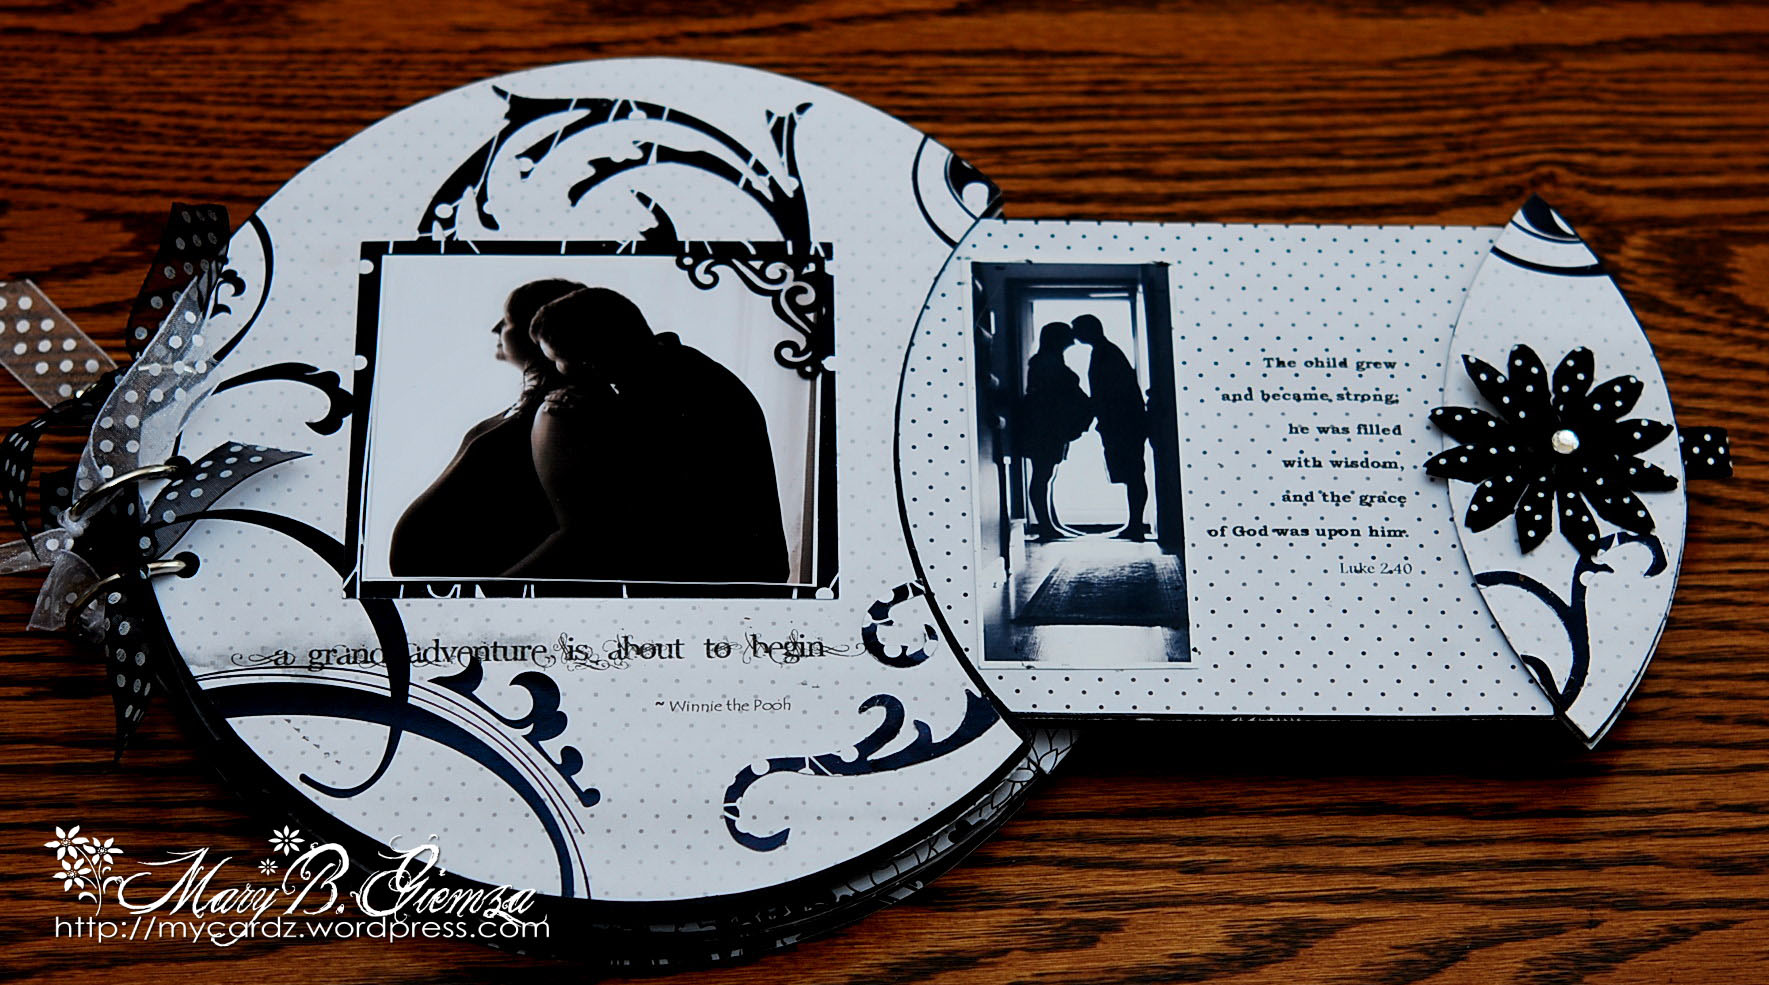

In trying to not overwhelm you, I won’t show each and every photo from the album, since there are a total of six pages, PLUS six hidden photos. I did, however, put together a wee-little slide show of the entire album which can be found at the end of this post! Yep, just a proud grandma!
I just LOVE this type of album, I think it would make a perfect gift for Christmas, birthdays, new babies!
 The album is being sold over at I Brake For Stamps.
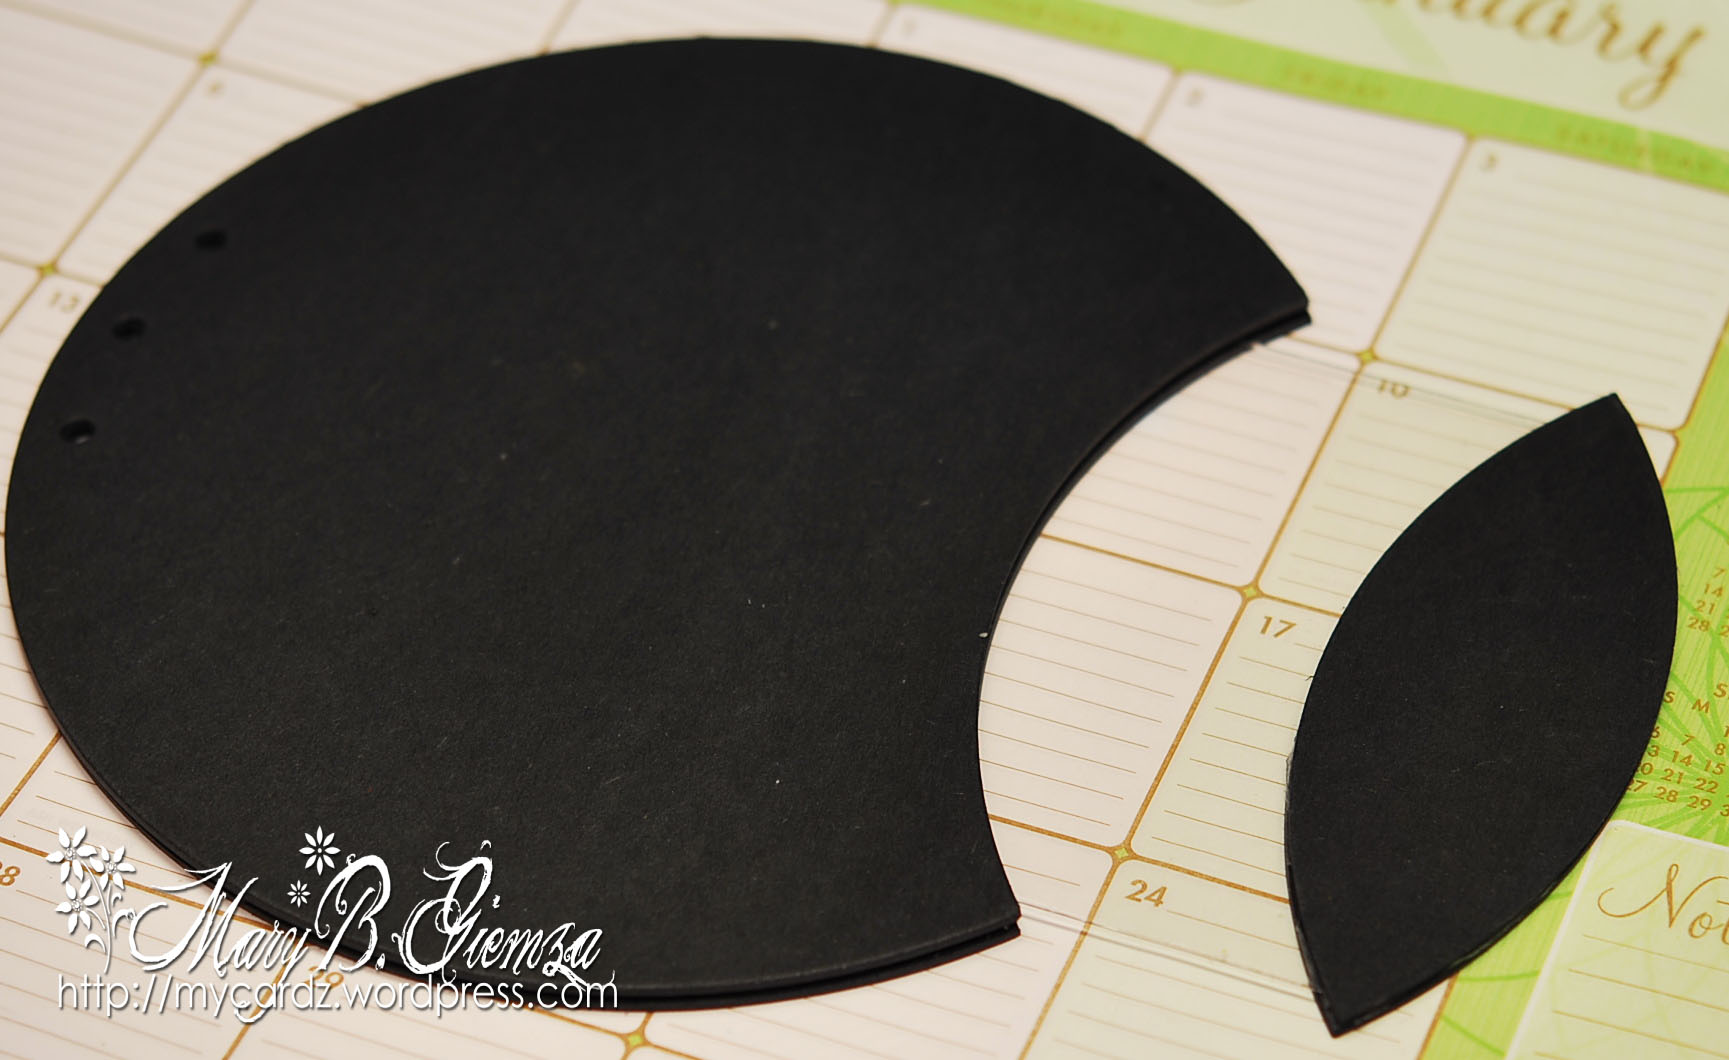
 I have a few photos to show you how super easy it is to put together. This is what you will receive in your package . . .

It may look confusing at first, but believe me ~ if I can do it — anyone can! Your first step is to take one of the black chipboard spacers and a black chipboard circle . . .

and glue them together . . . always being sure to line up the punched holes.

You then peel off the blue protective film from one of the clear pull outs . . .

and glue two black chipboard pull tabs to the front and back of the square end. (I’ve left the film on so you could see it a little easier in this photo.)

Lay this tabbed insert inside your glued circle as shown below . . .

and glue a second chipboard circle on top ~ always being sure to line up the punched holes.
That’s it! (Of course, you have two more to put together.) The album pages measure 8 1/2 inches, so I cut out all of my papers/cardstock . . .

and used one of the chipboard pull tabs as a guide to cut this section to adhere to the album.

Since I was using double-sided papers, I marked the back of each piece so I would know which side I had planned to use.

And now the REAL fun begins! Adding your photos and embellishments. I decided to cover the clear plastic pull outs with DP also, which was not necessary – if you decide to do this, one little suggestion I have to make your life a little easier, cut and measure these BEFORE you glue your album together! Live and learn! If you do purchase one and run into ANY problems, please don’t hesitate to contact me and I’ll try to help.
************************************************************************
Now click -->here<-- if you want to see more of Mary's creations.


 You’ll need 14 coasters. The shape doesn’t matter, square or round will do as well. They’ll be bound together with 2 album rings. I don’t have photos of the making-of itself, but the images below are quite self-explanatory.
 At first you cover the coasters with paper. Put glue on one side first and attach it to the paper, let dry and trim the paper. Then do the same with the reverse side. As a glue mat, you can take
  Write down a list from A to Z and choose images and attributes. This prevents you from being confused with all the letters later on. Print out the images in a small size, mine are 3×4cm. On the back of the title coaster, attach the letter A (a sticker or a cut-out, whatever you like). Write the attribute with letter stamps*. Take your eraser as a stamp and stamp a frame for your photo which you’ll attach slightly slanted.
 Use the same pattern for finishing all pages.
 My cat doesn’t like to travel. So I turned the German word “reiselustig” (= fond of traveling) into “reise-UN-lustig” (=NOT fond of traveling) by highlighting the syllable with the help of dymo tape.
 It doesn’t have to be the attribute’s first letter
 When you’re done: Congrats! Bind the coasters together with the rings. Knot pieces of pretty ribbon around the rings (you might want to fix the knots with a drop of glue).


