I have used my regular tools for this tutorial. For alternatives see my post on Tool Substitutes.
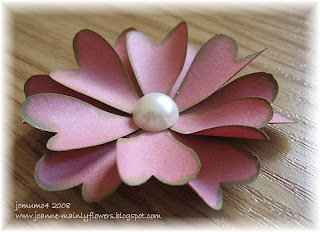 This flower uses a long heart shape. The punch I used is by X-cut and is called Funky Heart. Woodware do a similar one, EK success also has one called Folk Heart, and I am sure there must be others. You also need something to stick the hearts to. I have used a snowflake punched with an EK Success punch. Any small snowflake shape will do, or a six petaled flower shape. If you don't have either of those, then use a circle as per the No Tools Flower instructions.
Here are the supplies needed:
- Shaping mat
- Scrap of coloured paper
- Pva glue
- Funky Heart punch
- Snowflake punch
- Ink pad
- Embossing ball tool
- Character shaping tool
- Flat backed pearl or other embellishment for the centre

Punch out 12 hearts and two snowflakes.
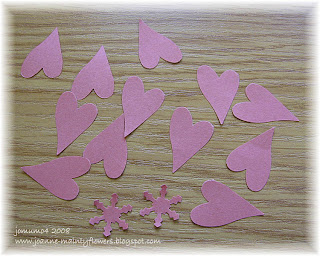
Swipe the ink pad around the edges of the petals. (This looks nicer than the photo shows!)

Use the character tool (or teaspoon etc - see tool substitutes) as shown in the No Tools Flower tutorial.

The petal will curl up like this.

Glue two petals opposite each other with the tips touching in the centre of the snowflake. Like a strange little bug! Only use a tiny spot of glue on the very tip of the heart.
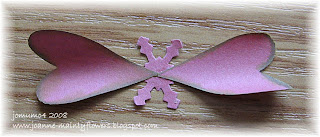
Continue sticking petals around the snowflake, spacing them evenly for best effect. On the second snowflake, stick the petals slightly further out as shown on the left hand layer in this photo. (Click to see closer.)
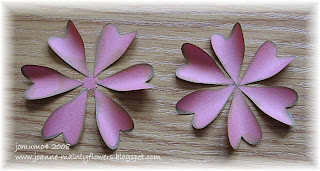
Place each layer in turn, right way up on the shaping mat. Using the character tool, draw an imaginary circle around the base of the petals, applying a little pressure as you do so. This will make the flower cup upwards.
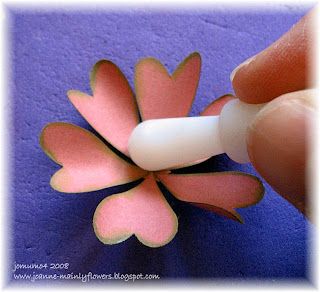
Apply a spot of glue in the centre of the layer with the more widely spaced petals, and fix the other layer on top. Align the layers so that the petals of the top one are between those of the bottom layer.
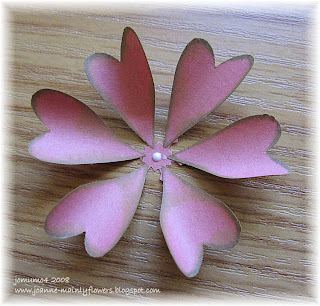
Glue the pearl in the centre to finish.
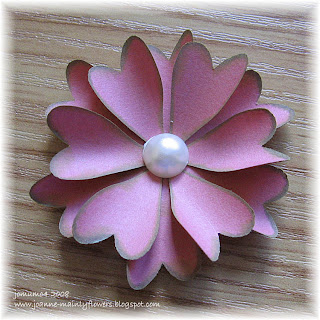
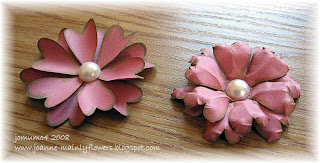
By doing a different shaping you can get a totally different look. After punching out the shapes, do not curve them, but just stick them to the snowflake. Then turn the assembly upside down on the shaping mat and use the embossing ball tool to shape as per the Nestability Flowers.
Emboss the tips.
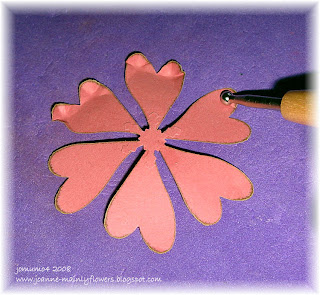
Emboss a line down the centre of each petal.

Turn the whole thing back over to the right side, and 'draw circles' around the base of the petals to pop them up.

Stick the two layers together, and then, with the flower on the shaping mat, press with the embossing tool in the centre to 'fluff' the petals up.

Add the pearl.

Two very different looks.
This flower was done with the second method, but using a crinkly thin tissue type paper. I used a Leone Em Stamens punch with Emerald Bazzill Bling for the centre.

A note from Julie :~ Thanks Joanne for a wonderful tutorial
If this tutorial inspires you to create some of these beautiful flowers please leave a comment here with a link to your creation :)
No comments:
Post a Comment